

How to Deal with Unwanted Particles in Curing Resin?
We've all been there. You've meticulously mixed your resin, poured it into your mould, and eagerly await that perfect cure. But then, disaster strikes! A pesky housefly decides your project is the ideal landing spot, or stray dust enters your meticulously poured resin. Don't despair! While unwanted particles in curing resin are certainly frustrating, there are ways to salvage your project, depending on the severity of the situation. We recommend joining a resin art workshop to learn how to start this project under professional guidance.
Prevention is Key: Keeping Your Resin Fly-Free
Before we dive into solutions, let's talk about prevention. Here are some tips to keep your resin workspace free from unwanted visitors:
- Work in a Clean, Enclosed Environment: Choose a well-ventilated area with minimal dust and debris—Work in a designated crafting space or set up a temporary enclosure to minimise airborne particles if possible.
- Cover Your Molds: Cover your moulds until you can pour the resin. This will prevent dust and insects from settling in.
- Mix Meticulously: Stir your resin thoroughly but gently to minimise air bubbles that can trap dust particles.
- Work Quickly and Efficiently: The longer your resin is exposed, the higher the chances of something landing. Have everything you need to be prepared beforehand to minimise mixing and pouring time.
Advanced Prevention Tactics: Fortifying Your Resin Fortress
While the previous section covered basic prevention measures, here's a deeper dive into advanced strategies to create a near-impregnable barrier against unwanted particles:
- Utilise a Dedicated Pouring Station: Designate a specific area in your workspace solely for resin work. Keep this space clean and organised, with minimal clutter to minimise dust and debris.
- Invest in a Down-Draft Table: Consider using a down-draft table for serious resin enthusiasts. These specialised tables feature a ventilated surface that helps draw dust and particles away from your project as you work.
- Embrace the Power of Tape: Go beyond covering your moulds. Use painter's tape to create a temporary barrier around your workspace, minimising the chance of airborne particles infiltrating your project.
- The Beauty of a (Resin) Respirator: For projects involving large quantities of resin or when working with potentially hazardous fumes, consider wearing a respirator specifically designed for organic vapours. This will protect you from harmful fumes while preventing airborne particles from entering your project through your breath.
Removing Offenders from Uncured Resin
Now, let's address those pesky particles that sneak into your resin. Your approach will depend on the curing stage and the particle size.
Early Intervention
- For Small Insects or Dust Motes on the Surface: If you notice the intrusion before the resin thickens significantly, you can carefully remove the particle with tweezers or a toothpick. Act quickly and gently to avoid accidentally disturbing the surface of the resin.
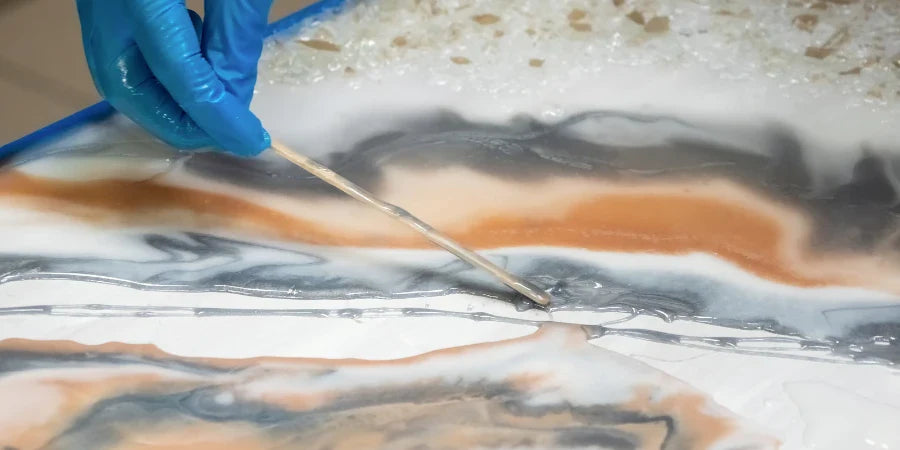
- For Larger Debris Submerged Just Below the Surface: If the particle is slightly submerged but hasn't bonded completely, you can use a thin artist's palette knife or a craft stick dipped in rubbing alcohol to nudge it towards the surface gently. Once at the surface, remove it with tweezers.
Pro Tip: Only use rubbing alcohol in a well-ventilated space and avoid excessive contact, which can affect the curing process.
For Cured Resin
- For Small, Shallow Imperfections: Once the resin is fully cured, if the particle is small and only leaves a shallow mark on the surface, you can try sanding it down with fine-grit sandpaper (around 1200 grit or higher) and then buffing it to a polish.
- For Deeper Imperfections or Larger Particles, You may need to get more creative for more noticeable blemishes. Here are a couple of options:
- Filling and Repainting: You can carefully dig out the imperfection with a sharp tool (like a hobby knife) and fill the depression with a small amount of fresh resin. Once cured, sand the filled area smooth and repaint if necessary.
- Dremel Tool: If you're comfortable using a Dremel tool with a fine sanding bit, you can carefully sand down the blemish. Wear proper safety gear (eye protection, mask) and use a light touch to avoid damaging the surrounding resin.
Thinking Ahead: Embracing the Imperfection
Sometimes, despite our best efforts, those unwanted particles become a permanent part of our resin creations. Here's where you can embrace the imperfection and turn it into a unique feature:
- For Smaller Blemishes: Consider the particle a unique detail, a speck of cosmic dust trapped in your creation, adding a touch of whimsy or mystery.
- For larger Imperfections: You can get creative and use the inclusion as a starting point for further embellishment. The trapped fly could become part of a nature-themed sculpture, or a stray bit of glitter could spark an idea for a more decorative piece.
Pro Tip: Patience and a meticulous approach are key when working with resin. By taking preventive measures and acting swiftly if necessary, you can minimise the impact of unwanted particles. And even if a blemish persists, you can always find creative ways to turn it into a unique feature of your artwork. So, breathe easy, grab your tools, and get ready to create something beautiful!
Additional Tips for Removing Unwanted Particles in Curing Resin
- Always wear gloves and proper eye protection when working with resin.
- Consult the specific instructions and safety guidelines for the resin you're using.
- If you need help with how to proceed with a particular situation, it's always best to err on the side of caution and start over. After all, investing time in a new project is better than risking your current one.
With a little care and these helpful tips, you can keep those pesky particles at bay and create stunning resin projects that will last!


