

How to Resin a Board Game Table?
Ever dreamed of having a one-of-a-kind game table that's as stunning as it is functional? Look no further than resin! Resin can transform your ordinary board game table into a gleaming, protected masterpiece. This technique allows you to embed your favourite board game into the surface, creating a smooth, level playing field that's also gorgeous.
In this guide, we'll walk you through the entire process of resining your board game table, from prepping the surface to achieving a crystal-clear, bubble-free finish. Get ready to create a conversation piece that will be the envy of all your game nights! With practice and exploration, you can make incredible art pieces! Many resin art workshops are available to help you on your creative journey.
Steps to Resin a Board Game Table
Transform your game night experience with a stunning, resin-topped board game table! This guide will detail each step, from prepping the surface to achieving a flawless finish. Before you begin, gather your supplies:
- Safety Gear: Gloves, respirator, eye protection
- Drop cloths or tarp
- Sandpaper (various grits)
- Wood filler (optional)
- Level
- Rags or paper towels
- Mixing containers and stir sticks
- Epoxy Resin (suitable for countertops)
- Heat gun or torch (with safety precautions)
- Squeegee or spreader
- Game board (consider copyright restrictions for replicating)
- Optional extras: Pigments, dyes, decorative elements (game pieces, figurines)
1. Prepare the Tabletop
- Clear the Workspace: Remove everything from the table and set up your work area with drop cloths to protect the surroundings.
- Sanding: Roughen the tabletop surface with medium-grit sandpaper to create a good bond for the resin. Sand evenly and remove any dust with a tack cloth.
- Fill Imperfections (Optional): If you notice cracks, gaps, or unevenness, apply wood filler to achieve a level surface. Let it dry completely before sanding it to a smooth finish once more.
- Level Check: Ensure the tabletop is level using a spirit level. Uneven surfaces can cause uneven resin application.
2. Secure the Game Board (Optional)
This step depends on your desired outcome. You can either:
- Direct Resin Application: If you want the game board to become part of the final surface, ensure it's flat and secure it to the tabletop with tape or glue (check compatibility with resin).
- Separate Playing Surface: If you prefer a removable game board, skip this step and prepare the board separately after the resin cures.
3. Prepare the Resin
- Consult Safety Data Sheet: Read and understand all safety instructions before using the resin. Wear proper gloves, a respirator, and eye protection.
- Measure and Mix: Following the manufacturer's instructions, mix equal parts of resin and hardener in dedicated mixing containers. Ensure thorough mixing for at least 3-5 minutes, scraping the sides to incorporate all material.
4. Pour and Spread the Resin
- Work in a Well-Ventilated Area: Open windows and ensure proper air circulation.
- Start Slow: Pour a small amount of resin into the centre of the table. Use a squeegee or spreader to gently guide the resin towards the edges in a smooth, even layer.
- De-Bubble the Resin: Air bubbles will rise to the surface as you spread. Use a heat gun held at a safe distance to pop the bubbles gently. Keep the heat gun moving to prevent the resin from getting too hot.
5. Continued Pouring and Bubble Removal
Continue pouring in small batches, allowing the resin to flow outwards and self-level. Check for and remove air bubbles throughout the pouring process.
6. Addressing the Edges
- Monitor Edges: As the resin reaches the sides, ensure it completely coats the edges to prevent leaks. You can use a popsicle stick or artist's tool to nudge the resin into corners.
7. Curing Time
- Follow Instructions: Refer to the resin manufacturer's curing time recommendations. This can range from several hours to a day. The surface may feel tacky before fully curing.
- Leave it Undisturbed: Avoid touching or disturbing the resin surface during curing. Allow it to cure completely in a dust-free environment.
8. Finishing Touches (Optional)
- Separate Game Board: If you opt for a separate board, after the resin cures, you can ultimately adhere the game board to the top using a solid adhesive suitable for the materials.
- Additional Embellishments: Once the resin cures, you can add decorative elements like game pieces or figurines onto the surface for a more customised look.
Things to Avoid While Resin a Board Game Table
Here are some key things to avoid while resining your board game table:
- Overheating the Resin: Be sure to keep a safe distance while operating a heat gun for air bubble removal to prevent resin damage.
- Uneven Surface: A non-level table will result in uneven resin application. Ensure a level surface before pouring.
- Rushing the Pour: Pouring too much resin at once can make managing and removing air bubbles challenging. Work in small batches for better control.
- Trapped Air Bubbles: Not properly addressing air bubbles can leave imperfections in the final finish. Take your time and use the heat gun effectively.
- Improper Resin Mixing: Incorrect mixing ratios or inadequate mixing time can affect the resin's curing process and lead to a weak or sticky finish.
- Underestimating Weight: Resin can add significant weight to your table. Make sure the table structure can handle the additional load.
Benefits of Using Resin on a Board Game Table
Resining a board game table offers a unique combination of functional and aesthetic benefits, transforming it from a simple game platform into a conversation-starting centrepiece. Here's a breakdown of the advantages:
- Scratch and Dent Resistance: Resin creates a hard, protective layer that shields the table surface from scratches, dents, and everyday wear and tear. This is especially valuable for protecting the game board, particularly if it's directly embedded in the resin.
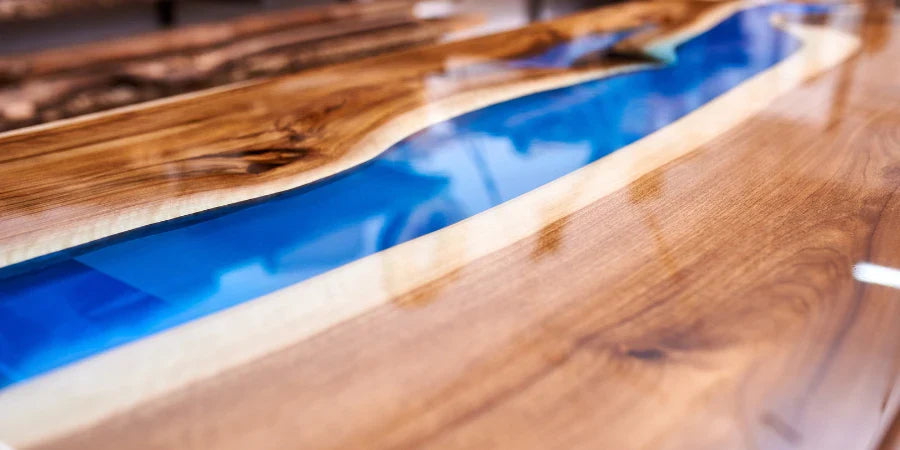
- Crystal Clear Finish: High-quality resin offers a beautiful finish that allows the game board artwork to shine flawlessly. It creates a visually stunning and seamless playing surface.
- Glossy Appeal: Resin creates a high-gloss finish that enhances the colours and depth of the game board, making it a focal point in your gaming space.


