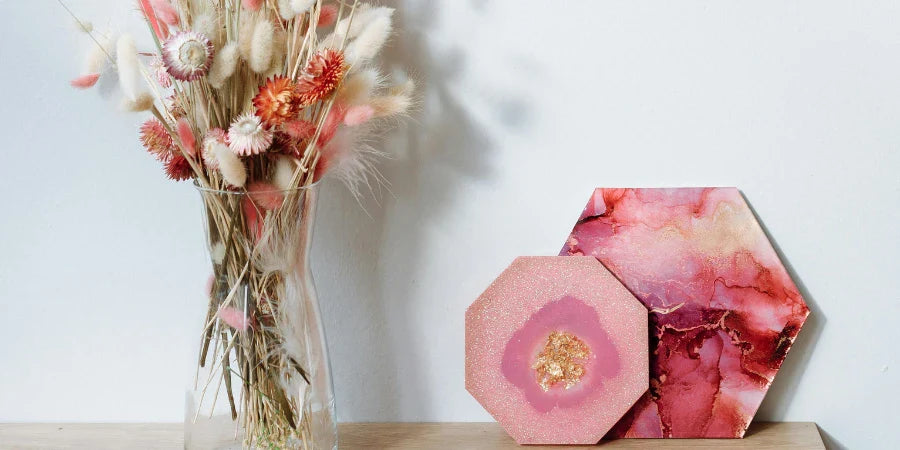
Creating Mini Masterpieces with Resin and Ornate Frames
The allure of resin art lies in its versatility and ability to transform everyday objects into captivating works of art. These resin creations become even more compelling when paired with ornate frames, elevating them from trinkets to treasured mini masterpieces.
Are you seeking a unique and creative way to showcase your artistic talents? Look no further than creating mini works of art in ornate frames using resin! This artistic technique combines the beauty of traditional frame design with the modern touch of resin, resulting in stunning and eye-catching pieces that will impress any viewer. We recommend joining a resin art workshop to learn how to start this project under professional guidance.
What Is Resin, and Why Is It an Excellent Medium for Art?
Resin is a multipurpose, long-lasting material frequently utilised in crafts. When dried, it is translucent and glossy, making it ideal for giving artwork a smooth finish. Resin is also perfect for producing complex and detailed designs since it is easy to work with and can be moulded into various forms and sizes.
What are Ornate Frames?
Ornate frames are picture frames (or frames in general) that are elaborately decorated. They often feature:
- Rich materials: Ornate frames are typically made from wood, metal, or plaster and may be gilded with gold, silver, or other precious metals.
- Intricate details: They often have carvings, curves, scrolls, and other decorative flourishes. Some may even feature small statues, cameos, or other embellishments.
- Classical styles: Ornate frames are often inspired by historical styles like Baroque, Rococo, or Victorian, known for their opulence and grandeur.
Why Are They a Match Made in Art Heaven?
The combination of resin and ornate frames creates a genuinely captivating synergy. The frame's classical charm perfectly balances the resin's contemporary edge, resulting in a modern and timeless piece. Imagine a miniature seascape in resin, its blues and greens emphasised by a weathered driftwood frame, or a floral resin pendant encased in a delicate filigree frame. The possibilities are endless!
How Do You Make Mini Works of Art in Ornate Frames Using Resin?
If you're ready to explore the world of resin art, the first step is to gather your materials. You will need small canvases or wooden panels, resin epoxy, a mixing cup, stirring sticks, acrylic paints, and ornate frames to display your mini masterpieces. Once you have all your materials ready, it's time to get creative!
Here's what you'll need
- Silicone moulds for ornate miniature frames (available online or at craft stores)
- Resin casting kit (including resin, hardener, and measuring cups)
- Transparent casting sheets (optional for a glass-like effect)
- Tiny artwork or ephemera (dried flowers, miniature photos, glitter, etc.)
- Tweezers
- Heat gun (optional for removing bubbles)
- Small craft stick or stir stick
- Gloves (recommended)
- Magnets (optional for fridge magnets)
- Sandpaper (optional for smoothing edges)
Let's get creative!
- Prepare your workspace: Cover your work surface with newspaper or a disposable tablecloth. Resin can get messy, so it's best to be prepared for spills. Wear gloves to protect your skin.
- Mix the resin: Following the instructions on your resin kit, carefully measure and mix the resin and hardener. Proper mixing is crucial for a successful cure, so stir thoroughly for several minutes.
- Ready your mould: If you're using a transparent casting sheet to create a "glass" effect for the frame, gently press it into the bottom of the mould.
- Time for embellishments! Now comes the fun part! Use tweezers to place your tiny artwork or ephemera inside the mould cavity. Get creative! Layer dried flowers, glitter, miniature photos, or anything else that sparks your imagination.
- Pour the resin: Pour the blended resin into the mould slowly and carefully until it is filled almost to the top. Be mindful of trapping air bubbles – gently tapping the mould can help them rise to the surface.
- Banishing the bubbles (optional): Use a heat gun on low to gradually heat the resin's surface if you notice air bubbles. The heat will force the bubbles to explode. The resin can scorch, so do not overheat it.
- Curing time: Set your creations aside in a well-ventilated area to cure completely. Refer to your resin kit's instructions for specific curing times, but typically, it takes 24-48 hours.
- Demolding and finishing: Once fully cured, gently peel the resin art out of the mould. You can use sandpaper to rub any rough edges if required.
- Magnetise it (optional): If you want to turn your miniature artwork into a fridge magnet, glue a small magnet to the back.
Tips for Creating Stunning Mini Works of Art in Resin
- Experiment with different colours and pigments to create unique effects.
- Add embellishments such as glitter or metallic flakes for extra sparkle.
- Remember to work quickly and carefully when handling resin to avoid drips and spills.
- Consider creating a series of mini artworks to display together for a cohesive look.
- With some imagination and patience, you can make beautiful mini works of art in ornate frames using resin. Whether you're a seasoned artist or a novice, this technique impresses and inspires you. So gather your materials and let your imagination run wild!


