

How to Put a Photo in Resin Without Laminating
Resin is a versatile material that creates a transparent and glossy finish when mixed and cured correctly. It is commonly used in various art forms due to its ability to preserve objects and add depth and dimension to artwork. One fascinating technique in resin art is putting a photo in resin, which allows you to encase your favourite moments and create stunning pieces of art. If you're new to resin casting or want to refine your skills, consider joining resin art workshops to learn more about this fascinating medium. In this blog, we will guide you through the step-by-step process of putting photos in resin, providing valuable tips to enhance your resin art projects with stunning effects.
Essential Materials for Resin Photo Casting
When putting a photo in resin, it's essential to choose suitable materials for the project. Here are the necessary materials you will need and their purposes:
- Glossy Photo Print Paper: Ideal for achieving precise and vibrant results when embedding photos in resin.
- Polaroid Pictures: Can create a unique and retro look when preserved in resin.
- Mod Podge Primer: Helps seal and protect the photo before applying resin, preventing colour distortion and smearing.
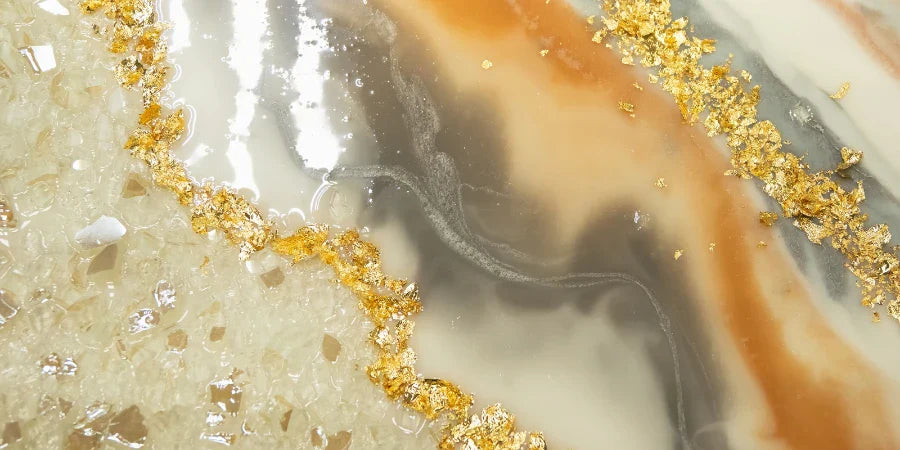
- Resin: The primary material used to cover and preserve the photo.
- Mould and Wooden Board: Provides the shape and structure for the resin project.
- Petroleum Jelly or Cooking Oil: Essential for removing resin drips from the wooden board surface without damaging the photo.
Steps to Put a Photo in Resin
When it comes to putting photos in resin, the resin-pouring process is crucial for achieving a professional and polished result. Here are the essential steps and considerations for this phase:
Step 1: Measure and Mix Resin
Before pouring resin into a mould, it's essential to measure the resin accurately. Most resins require a precise ratio of resin and hardener for optimal results. Use measuring cups or a digital scale to ensure the correct proportions.
When mixing the resin and hardener, follow the manufacturer's instructions carefully. Stir the mixture slowly to minimise the formation of air bubbles, which can affect the clarity of the final product.
Step 2: Pour Resin into a Mould
Once the resin and hardener are thoroughly mixed, carefully pour the mixture into your chosen mould. Whether you're using a silicone mould or another type of mould, pour the resin slowly and steadily to prevent bubbles from forming.
Step 3: Add the Photo to the Resin
After allowing the poured resin to sit for 40–50 minutes (depending on the specific product's instructions), it's time to add the sealed photo. Carefully place the photo into the resin, ensuring that it is centred and positioned as desired.
Step 4: Apply Another Layer of Resin
To minimise any potential bubbles or imperfections, adding another layer of resin after placing the photo is highly recommended. This additional layer helps encapsulate the photo evenly and provides a smooth surface for a professional finish.
Step 5: Minimize Bubbles and Protect the Photo
To achieve a flawless result, taking proactive measures to minimise bubbles during each layer of resin is essential. Techniques such as gently blowing over the surface with a straw or using a heat gun on low settings can help eliminate bubbles effectively.
Ensuring that the photo is protected correctly within the resin involves taking care and not disturbing or displacing it while applying subsequent layers. This safeguard helps maintain the integrity and visual appeal of the embedded photo.
Essential Tips for Working with Resin Safely and Effectively
When it comes to putting a photo in resin, there are some tips and recommendations that can help you achieve the best results:
- Use Wooden Boards Instead of Canvas Frames: When working with resin, using wooden boards as your base has its advantages. Unlike canvas frames, wooden boards provide a solid and stable surface for your project. They are less likely to warp or flex under the weight of the resin, ensuring a flat and even result.
- Prevent Resin Drips With Petroleum Jelly or Cooking Oil: Resin tends to drip off the edges of your project as it cures. To prevent this, you can apply a thin layer of petroleum jelly or cooking oil along the underside edges of your wooden board before pouring the resin. This creates a barrier that prevents the resin from sticking to the board and dripping off.
- Choosing the Right Type of Photo Paper: To get the best results, use glossy photo paper or Polaroid pictures. The shiny surface makes the colours look more vibrant and prevents the ink from smearing when you add resin.
- Enhancing Durability with Mod Podge Sealant: Before you add resin, it's a good idea to protect your printed photo with Mod Podge. Just brush on a thin layer of Mod Podge and let it dry completely. This will help prevent any discolouration or damage to the photo when you pour the resin over it.
- Tools You'll Need for Measuring and Mixing: To measure the resin and hardener accurately, use a digital scale. This will give you precise measurements and help ensure that your resin cures correctly. You'll also need disposable mixing cups for blending the two components together.
- Avoiding Air Bubbles in the Mixture: When you mix resin, it's common for air bubbles to get trapped in the mixture. To prevent this, stir the resin and hardener together slowly and gently. Make sure they are thoroughly combined, but avoid stirring too vigorously, as this can introduce more air bubbles.
Read Also - Best Resin For Art 2024: Choose The Right Epoxy Resin Kit
Conclusion
Putting a photo in resin is a creative and effective way to preserve and protect your cherished memories. By following the step-by-step process outlined in this article, you can successfully create beautiful resin art pieces with your favourite photos.
We encourage you to try this technique and unleash your creativity with resin arts and crafts. If you're interested in learning more about resin techniques and exploring other artistic skills, Contact Us on Arts Shala today for valuable resources and tutorials. Start your resin art journey today and create stunning pieces that will last a lifetime.
Frequently Asked Questions
1. Can You Put Photos in Resin?
Yes, you can put pictures in resin. Glossy photo print paper or Polaroid pictures best produce vibrant and precise results. The process involves sealing the photo with a primer like Mod Podge to prevent smearing and then placing it in the resin. Properly mixed and poured resin creates a transparent, glossy finish that preserves the picture. Ensure the photo is centred, and add multiple resin layers for a professional look. This technique is ideal for creating personalised art pieces or preserving cherished memories.
2. Can You Put Photos in Epoxy Resin?
Yes, photos can be encased in epoxy resin. Start by printing the photo on glossy paper for vibrant colours. Seal it with Mod Podge to protect against discolouration. Mix the epoxy resin & hardener as instructed, pour a base layer, and place the photo on top. Add another resin layer to encase the photo, ensuring no bubbles form fully. Epoxy resin provides a durable, clear finish, making it perfect for preserving photos in art projects like coasters, jewellery, or wall decor. This method keeps photos safe and enhances their visual appeal.
3. How Do You Put Pictures in Resin Without Laminating?
To put pictures in resin without laminating, use glossy photo paper for vibrant results. Seal the photo with Mod Podge to prevent ink smearing and discolouration. Pour a thin resin layer into the mould, let it sit for 40–50 minutes, then place the photo on top. Add another resin layer to encase the picture fully. Avoid laminating, as it can cause adhesion issues. Use a heat gun or straw to remove bubbles and ensure a smooth finish. This method preserves photos effectively while maintaining their clarity and colour.
4. How Do You Seal Pictures Before Resin?
Sealing pictures before resin is crucial to prevent smearing or discolouration. Use Mod Podge or a similar sealant, applying a thin, even layer over the photo. Let it dry completely before proceeding. This step protects the ink and ensures the photo remains vibrant when encased in resin. For added durability, consider applying a second coat of sealant. Properly sealed photos resist resin penetration, maintaining their integrity. This preparation is essential for achieving professional-looking resin art pieces with embedded photos.


